Thursday, November 17, 2011

Mini Book Monday

I'm trying to get in the habit of making all the little mini books that I have planned, so first up was making one using some of my leftover Counterfeit Kit #3 papers.
There were a couple of sheets of paper that had 4 6x6 squares on one side, so I let that guide my albums size. I use a 12x12 sheet of packing corrugated cardboard and cut it into fourths for my covers and two insert pages to give it some stability, then I started "decorating" the inside pages.

I've seen several "this I believe" layouts where scrapbookers recorded their basic beliefs, so I wanted to record mine, and this little album seemed like a good way to do it.

Counterfeit Kit #2

For my second Counterfeit Kit, I chose Little Red Scrapbooks March 2011 main kit, which is essentially the Echo Park For the Record kit with a few accents. I already had the FTR kit, and just added in stuff from my color drawers. At first I was struggling because I don't have a lot of flowers or little doodads, and it finally dawned on me that I was making it harder than it needed to be. Finally I added stuff in that matched in color and "feel" rather than trying to match item for item. This is what I came up with:

Pressed Petals yellow chipboard letters, CI filmstrip border, EK Success button up buttons, MM red twistel, KI Memories word border stickers, a Sonnet's metal rimmed tag, MM felt flowers, Paper Studio Spare Parts black polka dot flowers, an old Colorbok tag and a few misc. doodads.

First up: the not-bluebonnet pics. We waited too long to go this year and completely missed the bluebonnets, but we were able to find a little patch of yellow wildflowers.
It started off as an Allison Davis sketch (Feb 2010 from her website, not Sketch Support), but didn't end up looking like it at the end. The left hand side is pretty true to the sketch, two stacked vertical pics and a pic next to them, but the right hand side got changed up a little. I wanted to keep the background in the pics, so didn't trim them down into squares, which meant I had to overlap the last pic. All of that (and my smaller page size) meant the background paper placement wouldn't work, so I just went with some paper strips. I like how it turned out.
I've been wanting to tell this story for awhile, so I was glad that the pic went with the papers. Added in an old MME frame and some $ stamps from Michaels.
The border on this paper worked well for cutting down and piecing back together, but I thought the 4th side overwhelmed the small area too much, so I left it off. The only thing not from the kit is the baker's twine.
Probably my favorite from this group. There was a day back in December that Jacob just wanted to be cuddled, so Rick took some pics of it. The yellow letters were to big and bold, so I used some green Thickers from my stash, and some of the alphas from the kit. I really liked the rose stickers from the kit and wanted to use them somehow and after I had cut them out from the sheet and set them down, I realized how it looked like a momma and baby, so that's how I ended up using them on the layout. The ruler-look border strip ended up working well, I used a glittery MM ring tag to bring attention to it and use it to show Jacob's age.
Sadly, the only picture from Mother's Day this year. The black alpha stickers are the third style from the kit.
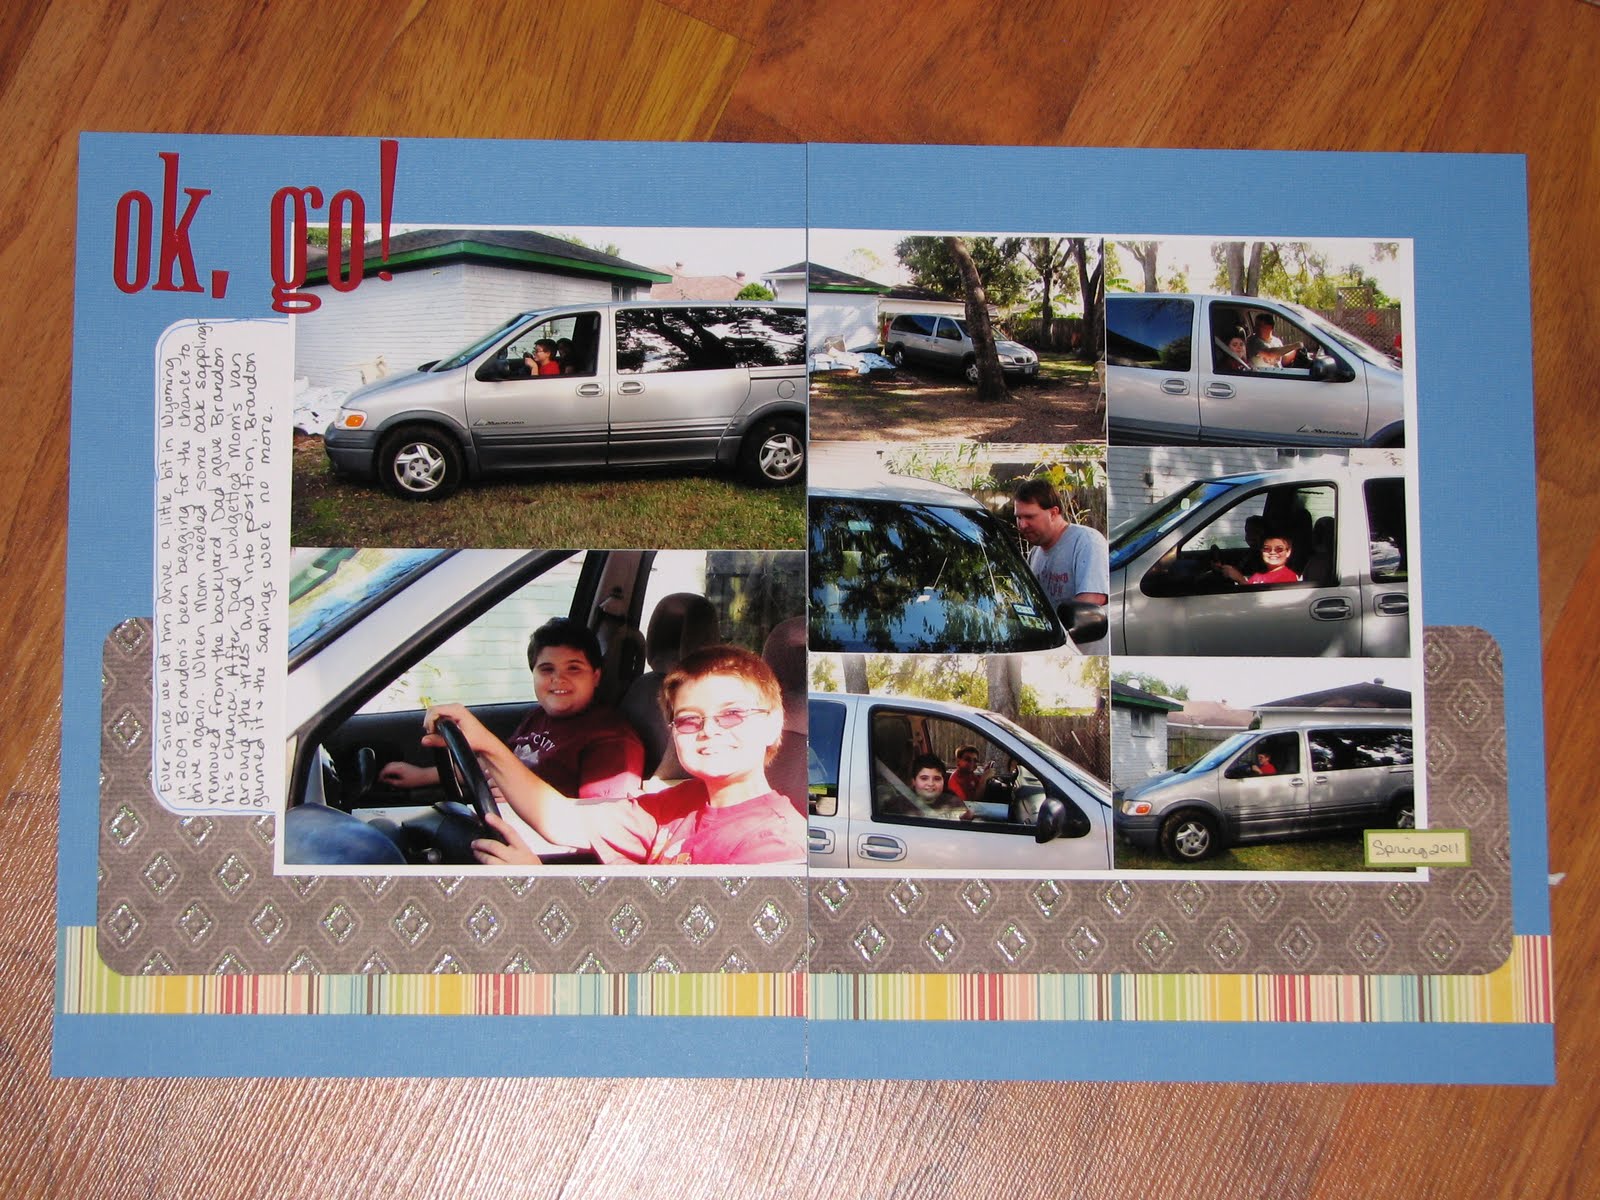
Brandon, ready to head out to one of the scout camps. The letters are big and bold, so I didn't do too much embellishing.
Still had quite a bit of paper left over, but was out of pictures that I had selected, so I started playing with paper and moving pieces around until I came up with this. At Christmas I get to see two friend that I haven't seen in a long time, so I'll probably use it for that and use some little off white shipping tags peeking out from under the mats for journaling.

These layouts also mark the begining of my Layout a Day challenge. I'm going to try and complete 365 layouts in 365 days, starting on November 1, 2011. I decided not to wait until the first of the year, since I had several projects coming up and wanted to be able to count them. :) I fully admit that it probably won't be one layout a day, but rather, as this month has proved so far, an average of one per day.

So, 365L total so far: 7

Halloween treat

Just realized I didn't post this when I posted pics of the holiday decorations. I made these treat bags for my and Terri's kids for Halloween. The idea is something I saw on pinterest, and then I came up with a topper idea. "boo" is from the Mini-Monsters cartridge. I originally intended to use my grass edge scissors but couldn't locate them, so it finally dawned on me to use the MS fringe scissors, instead. Stamp is from an Oriental Trading Company set.

Thursday, November 10, 2011

Halloween decorations

I love the MME Mischievous line that came out this year, in fact, I'd say it's probably been my all time favorite Halloween line. However, I certainly don't need more Halloween paper and such so I limited myself to just the 6x6 pad, which ended up being perfect to cover the chipboard letters of the banner I've been moving around. A few close-ups:


All the accents are from older MM lines. Inked around the edges with TH Walnut Stain Distress Ink.
And these guys...thin wooden shapes that I covered with paper. The purple is the backside of a paper from a Halloween pad (Recollections) and the spider paper is from a pack from the Target $ spot last year.

Caramel Apple Treats

A gift for Heather's family. A Sonic drink carrier covered and decorated, then filled with apples, caramels and chocolate chips.

Friday, September 9, 2011

random layouts

Paper from the dcwv songbird stack.
cricut Winter Frolic and Storybook cartridges. Loosely based on a Allison Davis sketch.
Again, what was I thinking letting them open presents while wearing orange and brown? Must pay more attention this year.
Older MM paper and newer Recollections clear die cuts
Well lookey there, computer journaling. Winter Woodland cricut cartridge. Rick actually picked the paper and embellies for this one.
MS borders and an old CK stamp. Rick also picked the paper and embellies for this one. He does good. :)
Pieces of a Pebbles boy birthday kit I picked up at TJMaxx for $2.99 last spring.
Eh. Not my favorite, but that's ok., Sort of based on an Allison Davis sketch.
Look...pink! Flowers! butterflies! I must have hit my head.
Jenni Bowlin papers from HL. Ran some white paint over the paper and part of the photos for journaling spots.
Quick one. Blues are all off, but Jacob liked it.
Man, there is now glitter all over my table, embedded in my trimmer and transferred from my clothes to my bed...all from cutting those two little MME strips. Stupid glitter paper. Based on an Allison Davis sketch.
My sweet music lover. Really using the QK Chocolate alpha die recently. More of the DCWV Songbird paper.
Another quick one. The paper is MME Lime Twist and actually has a scalloped border. Cutting off the border pieces worked perfectly to cut it down for the page.Used a coordinating die cut to make it look like the photo is in a pocket. Journaling around the edge is just a list of things that described him at age 11.
Had no "D" so I had to improvise. :) Based on a Becky Fleck/Pagemaps sketch.

100 project total: 52

Tuesday, August 30, 2011

Counterfeit Kit #1

There are monthly kit clubs offered by several companies, and they intrigued me. Boxes of goodies, the latest and greatest products, picked to coordinate and delivered straight to your door...what's not to love? Well, some of them cost up to $50. A lot of them, you have to subscribe for multiple months. And, just because you love what they've come up with the last 2 months, there's no guarantee you're going to even like the next 3 months. And therein was my problem. Enter the idea of counterfeit kits (which was totally not mine). Basically, you find inspiration from a kit, and then go dig through your stash and come up with your own, and you don't even spend a penny.
I have to admit, though, that this is backwards for me. I usually choose pictures, then product. Choosing a bunch of paper and embellishments and then finding groups of pictures to work with...I haven't done so well with it in the past, but I was pleasantly surprised to find myself enjoying it, and liking the layouts a came up with.
I went to several different kit club websites and found 40 or so that I liked, and then took the 10 that looked the most interesting to me, and made up my kits. First up:

Little Red Scrapbook's May 2010 kit. Look at all the happy colors! And, if you look closer, it's all October Afternoon paper. Is it any wonder that I was drawn to it? And is it all that shocking that I had most of it? No. (And that is something that I discovered about a lot of the kit clubs, upon closer inspection, most of them aren't mixing and matching manufacturers anymore). And here's my kit:
Since the bottom row of paper from the kit club papers is the flip side of the top row papers, I had to actually get creative, since I usually just buy one sheet of each design. Not a lot of embellies, since I don't own a lot of birds and such.
I would have never chosen these papers for these pics, but I really like how it turned out.
extra project: a cleaned out container from the Target bakery that was filled with packets of nuts as a gift for Terri. The paper also rings the actual container.
I don't usually use blue cardstock for backgrounds, but since it was part of the "kit"...Inspired by an Allison Davis sketch.
One of my favorites. I've had these metal letters for awhile, but since there is only one of each letter, I had to get creative. The second E is actually an F and an L layered together.
I like how this turned out. The paper on the top half has been a favorite, even if I didn't know what to do with it for a long time.
Some old scans of one of Brandon's books. He declared that this was Rick and me (always cleaning/always causing mischief).
Eh.
Pictures I took of one of Terri's sons while I was watching him. The colors fit perfectly with this kit,which is good, because I have an appalling amount of pink paper for never using it.
I have no idea what I'm going to do with this layout. I was putzing around with the pieces I have left (which is actually a lot) and ended up with this, and liking it, but having no pic to put on it yet. It will eventually find a home.

I should have had plenty of cards from the rest of the leftovers, but my creative mojo for cards is currently hiding. So, that's it for now.

100 projects total: 37