Wednesday, October 29, 2014

Workspace Wednesday 10/29, die cuts

I was storing die cut packs in divided page protectors in an album:

It actually worked pretty well. I have small enough hands that I can reach in to the 4x6 pockets, but occasionally some really small die cuts would stay down at the bottom of the pocket and I would really have to dig for them. The biggest problem, though, was turning the page. You had to turn very slowly and verrrry carefully, otherwise die cuts in the top pockets would be prone to flying out the top, even if the album was at a 45 degree angle. So any time savings from being able to access the die cuts all a once was lost picking up die cuts, lol. Plus, since I also use the album for storing templates and masks, I was limited by room.

I was thinking about how much more I'm using my stamps now that they are in the Avery Elle pockets and in a basket (easy to sort through and take out/put away), and that got me to thinking about how I had bought a package of these to use with die sets (before settling on Avery Elle pockets for those, too):

Die cut packs fit perfectly!
Easy in, easy out and quick access when lined up in a basket.


Wednesday, October 22, 2014

Workspace Wednesday, 10/22

Finally, a picture of my main scrapbooking area:


Left to right:
a tower of Jetmax cubes that holds dies and embossing folders, current kits and collections I'm working on, albums with photos waiting to be scrapped. The pink folder holds templates and some die cut collections. The basket up top holds counterfeit kits waiting to be used.

The oak cabinets:
the single cabinets on each ends hold Iris flip top containers that are for themed scrapbooking (Christmas, seasons/holidays, travel, school, etc.). The double cabinet on the left holds alpha stickers/dies and punches. The double cabinet on the right holds embellishments by manufacturer and color. Both cabinets have empty shelves in the upper back that I can use to store misc stuff. The drawers hold an assortment of tools, like paper trimmers, rulers, wax paper staplers, etc.

On the wall:
left to right
the white cabinet holds markers and art supplies, and a basket for completed cards. There is still room for more stuff. The white binders all hold base layouts waiting to be matched with photos. The open cubbies hold ribbon, jars of buttons and art mediums (gesso, modeling paste, etc.) The other white cabinet holds baskets of stamps.

The open white long shelf:
left to right
small Iris containers hold things like tags, doilies, chipboard frames, labels and such. The first set of mason jars holds loose ribbon. Then there are two clear acrylic make up holders that sort and hold all my basic tools (stamp blocks, adhesives, date stamps, etc.). The other set of mason jars holds rolls of washi tape. Then there is an open section for my dSLR camera and lens.

The white cabinet:
inside the cabinet is where all my paper is stored, except cardstock.  On top is my "finishing touches" case that holds brads, wood veneers, enamel dots and flairs.

On the counter:
my typewriter, work mat, vintage glass caddy with pens, pencils, paint brushes, etc. and occasionally my computer.

--------
Beyond that, there is another small tower of Jetmax cubes that acts as a stand for my printer and Silhouette, and the small cabinet that holds my Big Shot. Photos of those to come.

Tuesday, October 21, 2014

Studio Calico kit--Marks and Co (August 2013)

This was my last month as a subscriber; I bought the main kit, the add-on paper kit and the 4x6 paper pad, then added in the embellishments I wanted by buying them at regular stores with discounts. Plus, as I was working each layout, I added in whatever I wanted, just because :)

The main kit:

add-on paper


I started using this kit in January 2014, and made my first layout for the 50 project challenge:


and made a base layout to eventually put pics of my scraproom on (when it's clean, lol)
 
then I set it aside and pretty much ignored it's existence. I finally pulled it out on Sunday and decided to see what I could do with it.
 
I really kind of struggled with this one and it took me awhile to figure out that it was because I had only cut 2 6x6 blocks, when I normally layer 3. I added in some die cuts to balance the black frame.
 a close up of the stitching (using a template)
 
 I like this one, and used mostly 4x6 cards, with a few 3x4 cards from my stash added in.

This one is really not my style, but I was trying to challenge myself to use the A side. Of course, after I was done and looked up the papers, I realized that it was the easier to use B side that was meant for use in the kit. Oops.

I pulled in an extra sheet of the Fancy Pants paper so I could do a coordinated background, and several DL Polka Dot Party PL cards.

This was I think the only time I used stickers from the kit (add-on). I don't usually find the main kit alphas too usable.

My favorite one :) I always knew I was going to use the sun paper for these pictures.

A scraplift of a layout in their gallery (except theirs was a about dimples).

Layering more of the 4x6 cards and scraps.

 
Overall, I used more of the B sides than A sides. I'm pleased with 10 layouts and 6 cards. I didn't really think that a lot of the embellishments from the add-ons matched very well so didn't really use them, but I do have pieces of the paper line they go to, so they'll get used eventually. This is what I have left:
 
2014 in 2014:  1971/2041
50 projects total: 11/50
 

Peep Skip Day, 2014

On the message board I'm on, someone made a mention of senior skip days, and it turned into a discussion about wouldn't it be fun to have a skip day for crafting? Before anyone knew it there was a poll for dates and it turned from a day to a 4 day thing complete with prizes, Bingo and lots of fun. I love the message board I'm on :)  There were 16 challenges and I managed to complete them all, and it has totally rejuvenated me for scrapping; I feel creative for the first time in a long time.

Challenge #1
Christmas card tutorial

Challenge #2
Mad Dash, complete a layout in under 45 minutes
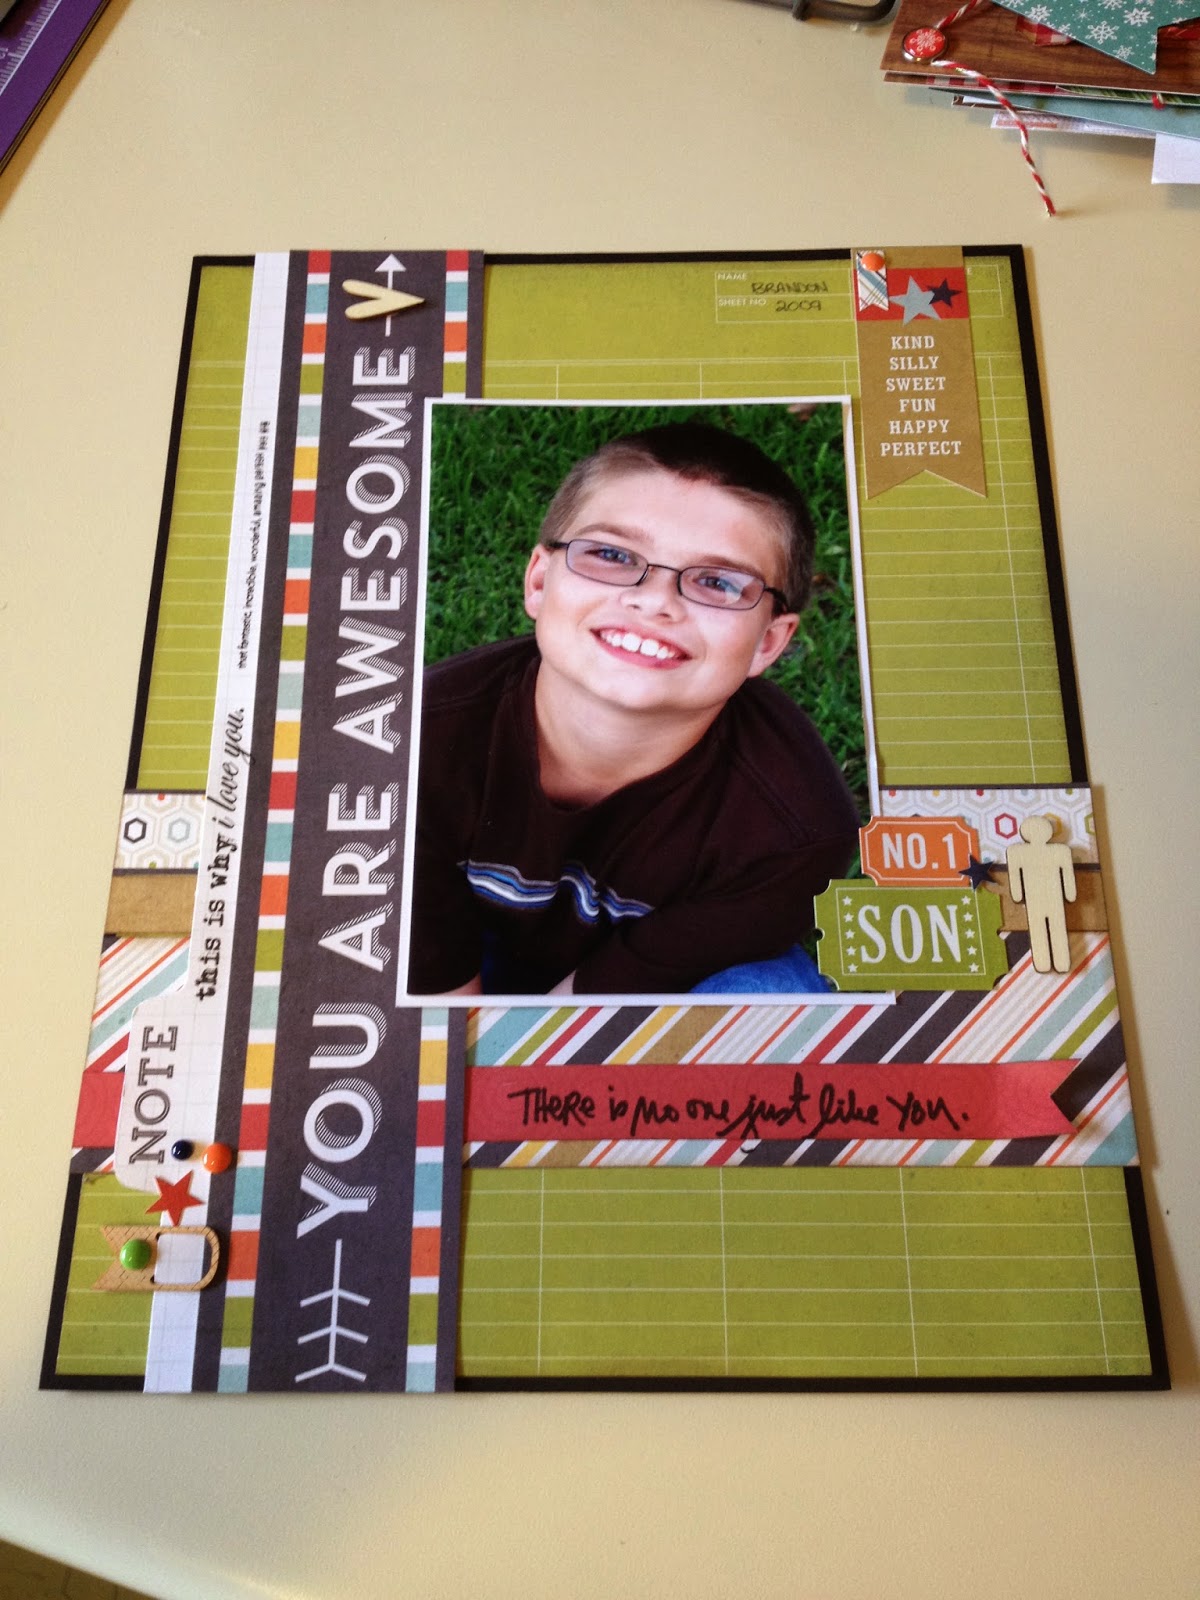
Challenge #3
Embossing and Embellishments, either use an embossing folder or make your own embellishments and use them on a layout. I made stacked label embellishments.

 
Challenge #4
sticker sneeze, create a layout where stickers are the main focus or organize your stickers.
I organized my stickers (upcoming Workspace Wednesday post).
 
Challenge #5
Make your own kit club kit
I started out with these two cut apart sheets from Echo Park Happy Go Lucky, the only two pieces I have from that line:
I love bright colors, so I was looking forward to seeing what I could pull from my stash. I started with pattern paper:
then added in several alphabet options:
followed by embellishments:

Can't wait to play with it!

Challenge #6
Fall layout challenge

Challenge #7
Let's go to the Border--use a sheet of border sections cut apart to create your layout
 
Challenge #8
27 fling boogie...pull a Fly Lady cleaning spree and clean up 27 things in your space or clean for 27 minutes. I completed this several times, lol.
 
Challenge #9
Die Cut Dodgeball, make die cuts your focus

Challenge #10
the challenge of challenge. A list of 52 challenges from a book, and this was the only challenge where layouts from the other PSD challenges could be used. I submitted 3.

Challenge #11
Peep recipe. Create a layout with a brown background, uses at least 3 circular elements, gold and some twine/string/ribbon.

Challenge #12
stencil challenge, use a stencil or mask.

Challenge #13
the 12 days of Christmas, create a Christmas themed layout with at least 12 items on it.

Challenge #14
random recipe challenge, when you signed up you were given a list of 4 things chosen by random.org.  I got fall theme, camera/geotag/arrow, frame your photos, and multiple fonts.

Challenge #15
peep skip day sketch. I actually used this for #3, as well.

Challenge #16
lots of dots! Use at least 15 enamel dots on a page.
I originally started this page for die cut dodgeball (#9) but realized I had enough dots on it to qualify for this one, so used it for this and made another one for DCDB since I still had my machine and dies out.


2014 in 2014: between working on 13 or so weeks of PL and this, I got my total up to the 1700+ range but forget to write down the exact number before updating it. Oops.

50 projects, week 36-40

week 36
 
week 37
spent a couple days these next two weeks trying to get caught up on Project Life:

week 38

week 39
part of the Peep Skip Day weekend online crop. This was for the challenge to use a template or stencil.

week 40
finally making my way through the last Studio Calico kit from my sub. (I still have several to look forward to from the Labor Day sale, plus umpteen "counterfeit kits" that I made from my stash based on some of their previous kits.
 
Only 10 more weeks to go!

Wednesday, October 1, 2014

Workspace Wednesday, 10/1

Paints, mists and such.

For the longest time, I had to hide all my paints away from Jacob, which made it harder to use them because out of sight, out of mind. I used to store all my wooden stamps on this cute little shelf that Rick and Brandon made for me a few years ago (for $6!), but this summer I sold most of them, leaving some great, shallow storage behind the door of my room. I decided to give storing my paints a try, and started with just my inexpensive acrylic craft paints to see if Jacob swiped them. Nope, hasn't even given them a second glance. That gave me the courage to add in my mists, name brand paint and such. I love it, all colorful and happy:


Getting them on the wall in "lost" space behind the door freed up a drawer (the paint) and several cubby areas (mists) for other supplies.